In 2016 it should be easy to move files between two computers on the same network. However it took me a little bit of time to find out how to do this with Windows 10. I was hoping it would be a case of enabling sharing on the Mac, finding it in the Network list on Windows and just moving the files – however it won’t appear on Windows unless you follow a few extra steps detailed below.
First enable File Sharing on the Mac, use the Sharing icon in System Preferences.
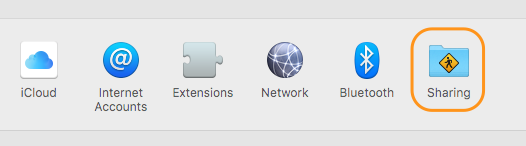
Tick File Sharing, make a note of your Mac’s name e.g. ‘richards-mini’ (or you can use your IP Address) then click ‘Options…’ and tick the checkbox next to your user name under Windows File Sharing.
Now in Windows 10, run File Explorer, right click the Network icon on the left hand side and select ‘Map network drive…’, the following dialog box appears:
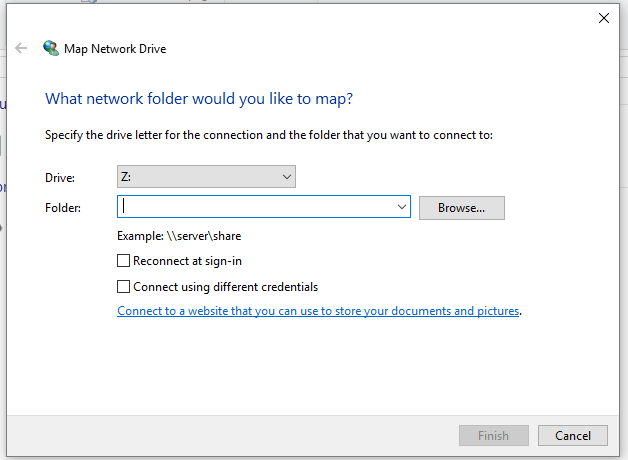
In the folder dropdown enter the Mac name or IP address of the Mac preceded by two back slashes e.g. \\richards-mini or \\192.168.1.123 then click ‘Browse…’, you should see your public folder listed there, select the ‘Drop Box’ folder then click OK.
You may be asked to authenticate – this requires the Mac username and password – not the Windows ones.
Finally you’ll see this as a new drive under ‘This PC’ list in File Explorer.
Once you have done, you may want to right click the mapped drive in Windows and choose Disconnect, then on the Mac switch File Sharing off afterwards just to be that little more secure.