I’m excited that my founder membership of The Grid has just been enabled. I’ve only spent a short time using it so far but it’s making WordPress feel ancient. The Grid uses AI to design the site according to the content and changes that design with time.
Email hosting with multiple accounts for a family
I have looked around for cost effective hosting for multiple mailboxes for example if you have your own domain name and want to give multiple family members email or if you run a small business with a few employees.
After a lot of research I recommend Tsohost (that’s an affiliate link but I’m not motivated by that – I only found out about their affiliate service after signing up for their hosting).
I looked at the services below before making my decision. Criteria were: Hosting for multiple mailboxes, webmail access, junk mail filtering, IMAP access, multi GB of storage, competitive price. Prices as at July 2016.
FastMail – based in the US, $40 per annum. I wasn’t keen on having email hosted in the US.
RunBox – based in Norway – that’s better than the US due to their privacy rules. $35 for main account but sub-accounts are an additional price and these can add up.
Fasthosts – £2 per month for 2 x 2GB mailboxes – not viable as I needed more for family
1 & 1 – £28.80 per annum with 2GB storage and 20 email accounts. This was one of the best offers and a real contender however the website didn’t mention junk mail filtering.
PlanetHippo – 10 mailboxes, 400MB size, £36 per year.
UK2 – Shared hosting with cpanel. £28.51 – doesn’t mention mailbox size or spam filtering.
Freeola EmailPro, has got antispam filters, £24 per annum, looked good but do I have to move my DNS to them and they didn’t offer any web hosting in that package.
Finally Vidahost/Tsohost. £29 annually (£31.32 including VAT) plus you get a free domain name. 2 GB storage shared between 25 mailboxes – web hosting that includes SSH access, Git, Cron, anti spam and 6 hosted websites. They were also recommended by a colleague who’d had good customer service for years.
Update January 2017 – With Vidahost you can now enable https on your website with a free SSL Certificate from Let’s Encrypt. Let’s Encrypt is available on all Cloud Hosting packages.
Update May 2018 – Vidahost has merged into Tsohost and the starter plan is now £34.80 annually.
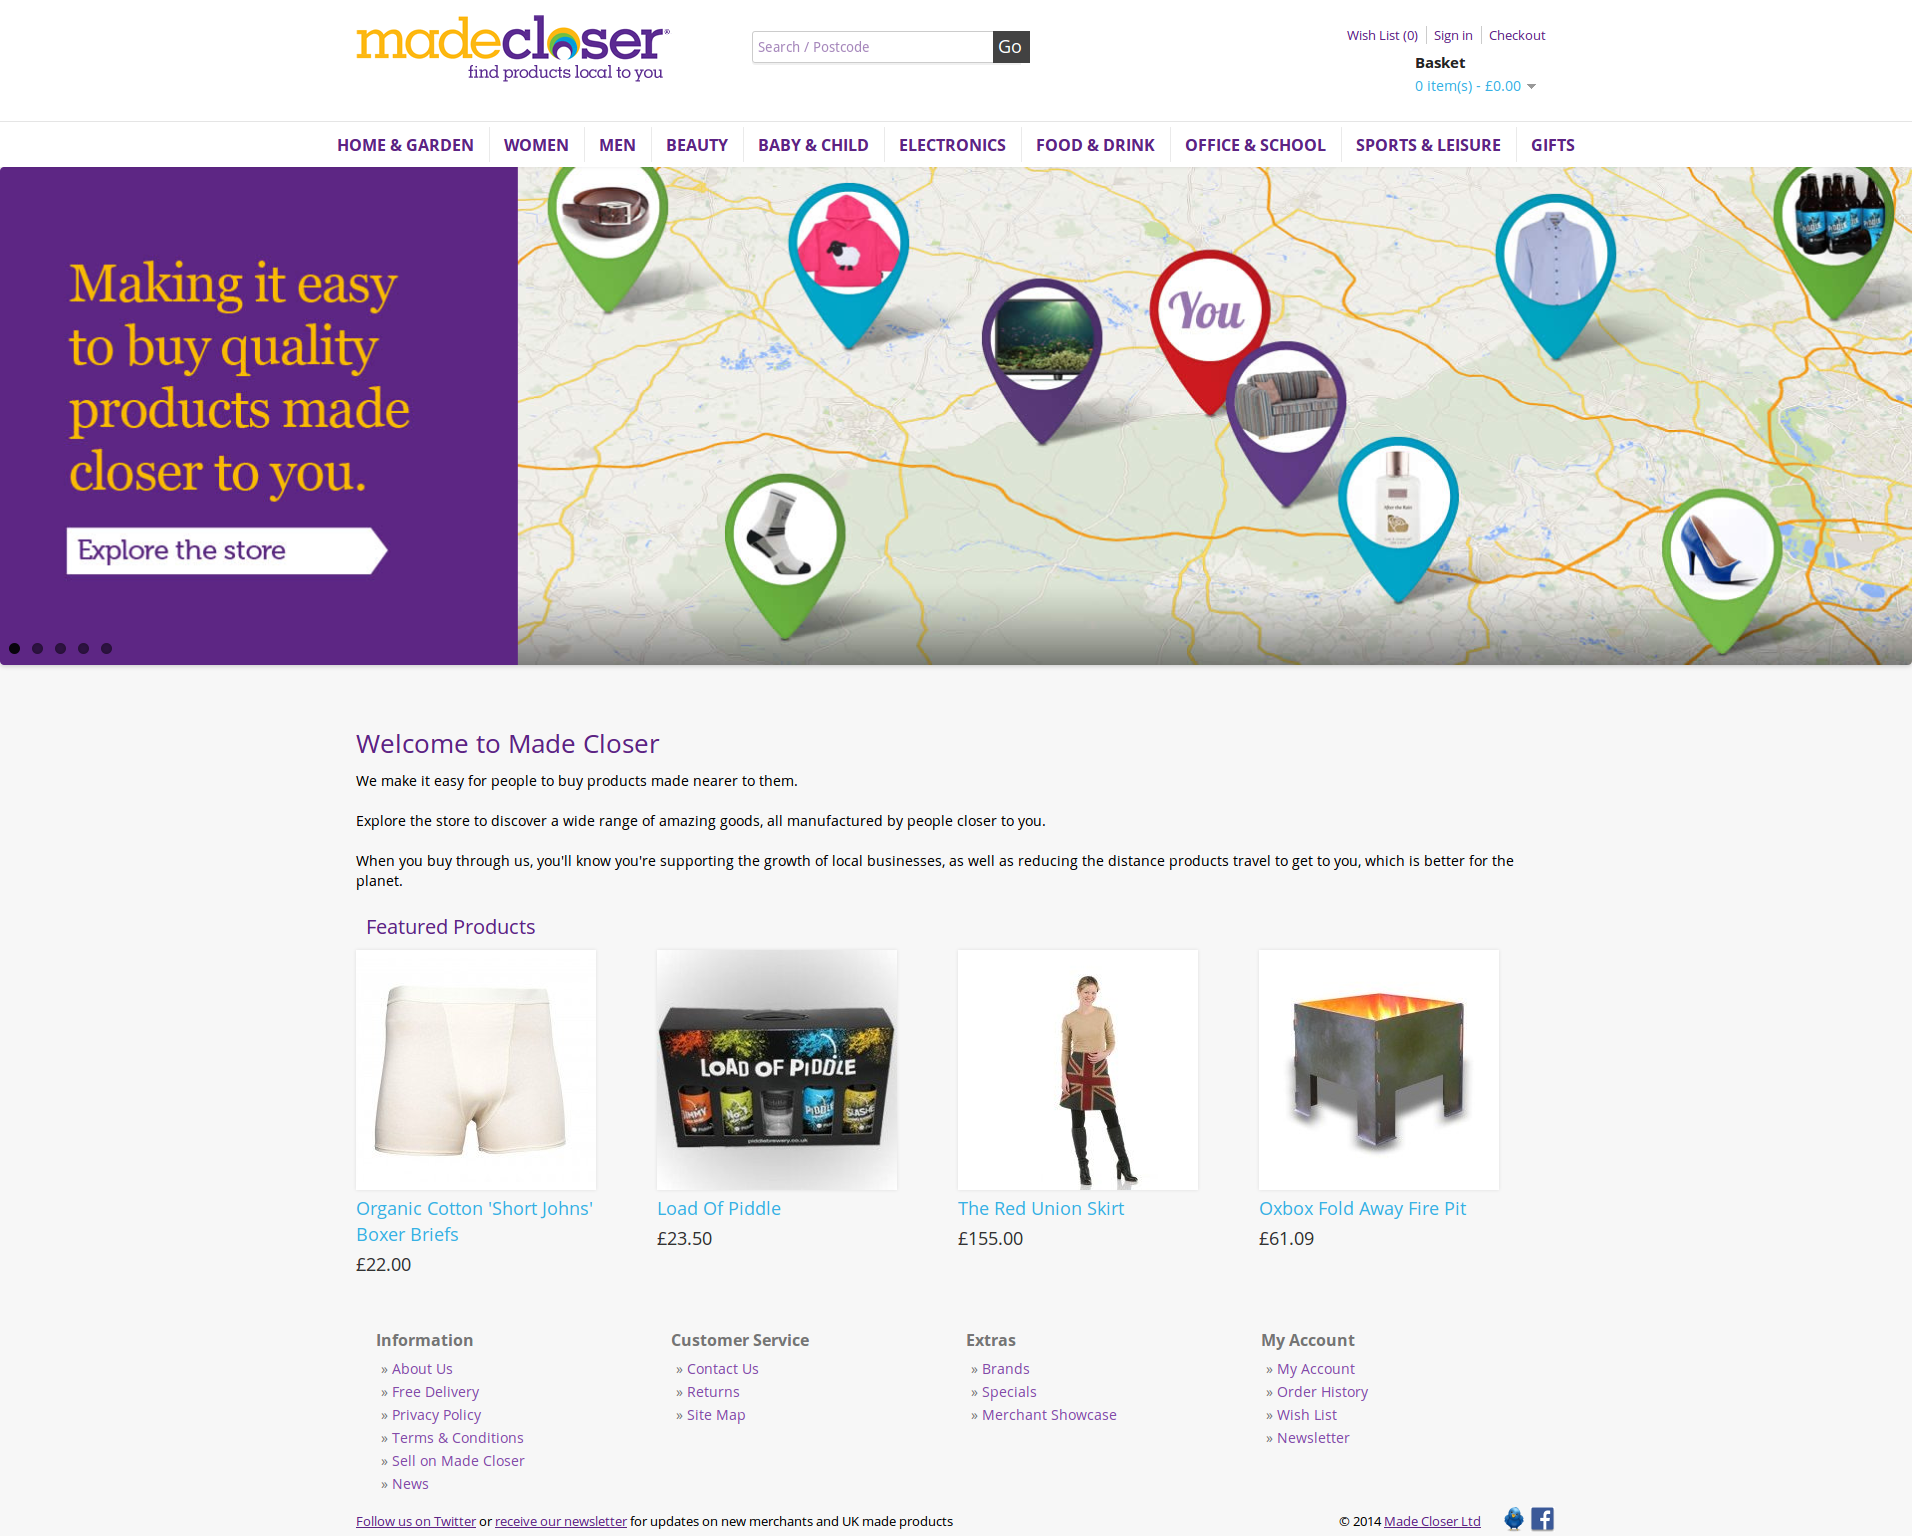
The end of Made Closer
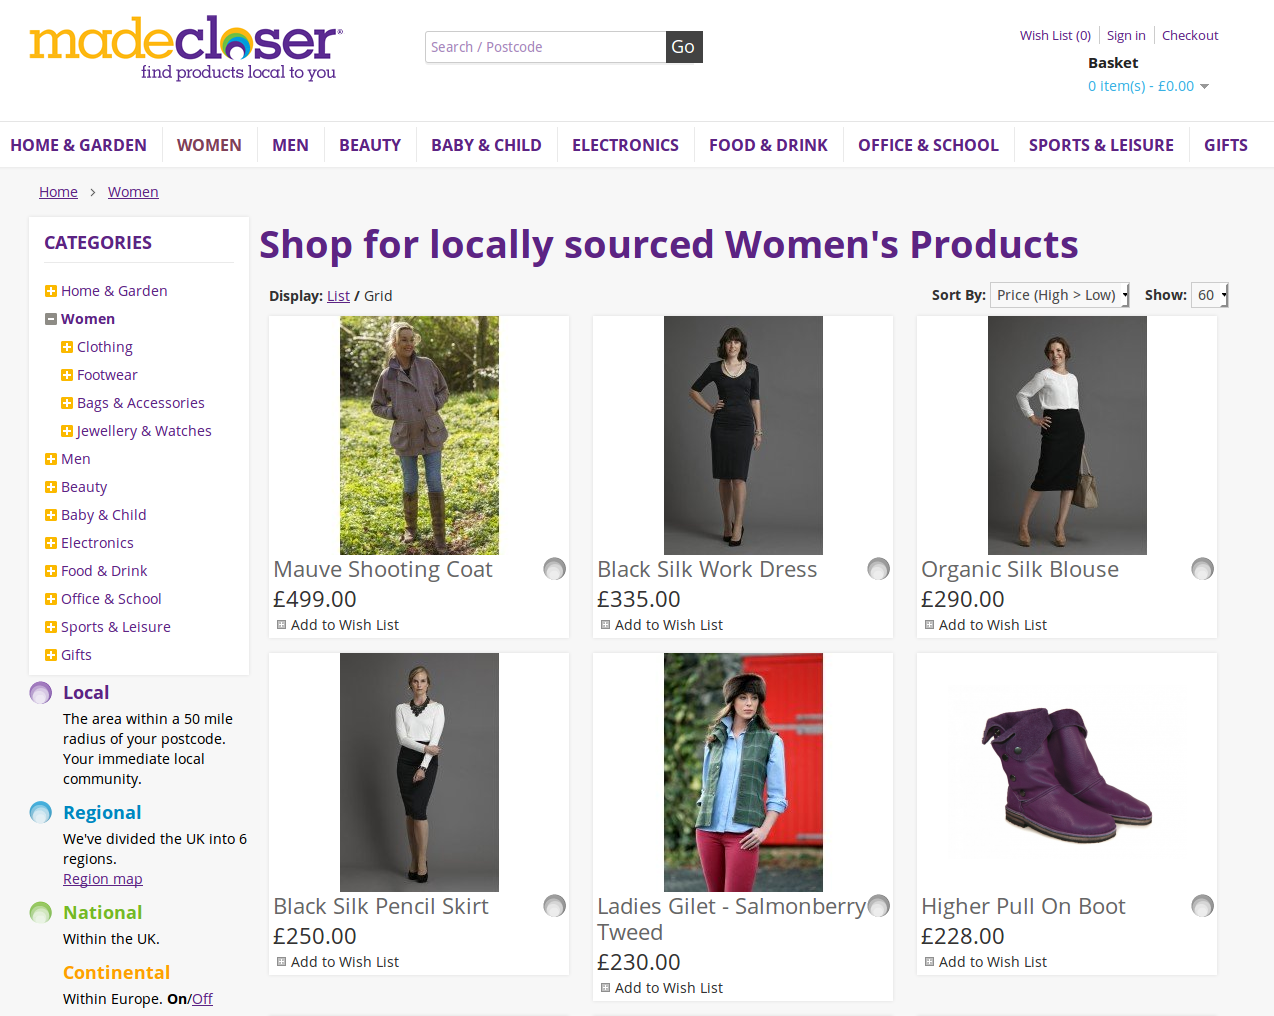
I moved on from Made Closer (and The Rainbow Chain) at the end of February because despite the media coverage before Christmas the company ran into funding problems.
I was recently saddened to hear that the founder has passed away and the site has been put into maintenance mode to prevent further visits.
Here are a few screenshots to show how it evolved:


Made Closer in The Guardian
Very pleased to see an article on 23/12/14 online at The Guardian that mentions and links to Made Closer. Enjoying a nice spike in traffic today.
You can read it here: http://www.theguardian.com/books/2014/dec/23/campaign-for-amazon-free-christmas-diverts-5-million
How to link a Flash movie to URL – tutorial
I spent ages on this a while ago and while there were some good tutorials out there – they missed off a few vital steps which had me stumped for ages. Here’s my attempt at a tutorial.
How to make a clickable Flash movie, clickable in the same way an image wrapped in an anchor tag is clickable – you click the Flash movie and your browser window gets taken to a new URL. Also I’ve developed this so the URL it navigates to can be taken from an HTML parameter so it doesn’t have to be hardcoded into the movie when you develop it.
This tutorial uses Adobe Flash Professional CS5.5 and in this instance I’ll work with a standard size advertising banner of 468x60px.
Start Flash Professional – it appears as shown below
Choose File / New from Template, Choose Advertising / 468 x 60 Full Size

The stage appears – create your advert (plenty of good tutorials on this so I won’t cover any further here, could be as simple as pasting 2 images and fading from one to the other)

Add a new layer on top of everything else you have done to hold the button which will detect and respond to any clicks from your visitors. I’ve named this layer ‘button’ in my example – select this layer.

Use the rectangle tool to draw a rectangle (colour doesn’t matter) of a size bigger than the canvas. This is going to be the button.

Right click the rectangle and choose Convert to symbol.

Choose Type of Button and click OK.

Double click the new button to edit it. You’ll see that the timeline has changed to show the button states of Up, Over, Down and Hit.

Drag the keyframe from Up to Hit – this has moved the coloured rectangle out of the visible part of the button and just made it the area that will respond to clicks, this is transparent so your banner advert will show through this.

Click Scene 1 to return to your movie and it should look like this.

Now we just need to add the ActionScript that will respond to the click, First we’ll set up the publishing settings of movie to use Flash 9 and ActionScript 2 – these are easier than using the later versions and may offer better compatibility. Click an empty part of the canvas and change the publish settings as shown in the right hand window as shown.

Click your button to select it and press F9 to view the ActionScript window.
Paste the following code into the window:
on (release) {
  if (_root.targetURL.substr(0,5) == "http:") {
    getURL(_root.targetURL);
  } else {
    getURL("http://www.default-url-here.com");
  }
}
This instructs Flash to get the URL to navigate to from an HTML parameter called targetURL that is defined along with the other parameters used to embed the Flash movie. If the code can’t find anything useful in there, it will fall back to a predefined URL.

Use getURL(_root.targetURL, “_blank”); if you want it to open in a new window, but this can be blocked by popup blockers so I would avoid this.
Now you need to publish the movie, which is simply selected from the File menu.
You are finished with Flash Professional now – the final job that remains is to edit the HTML to contain the URL that you want the movie to link to. You can either add this to the publishing code provided in the HTML file that Flash Professional will have created, or you can use SWFObject.
Default code created by Flash Professional
add the following once to each object tag
so the whole block will look like this
If you are using SWFObject then it should look like this
Note that the clickable Flash movie will not navigate to a new URL when viewed in a browser locally – you have to view it from a webserver, something to do with web browsers security models.